July 7, 2010
I'm so sorry...
It has been WAY too long since I posted a single thing on this blog. While I love making projects and showing off my work, I am taking a break. The summer is exceptionally busy and I am exceptionally lazy. In fact, I received a Stampin' Up! order last week and only opened the box to take out the catalog. Everything else is still sitting there. I'm not sure where or when I will get motivation to continue making cards, scrapbook pages, etc. In the meantime, I hope you find inspiration from all the other motivated, creative, wonderful women who take the time to do what they love each and everyday.
April 27, 2010
Birthday Bash Stamp-a-Stack
Stamp-a-stack classes are one of my favorite classes to have. Although I stress about which cards to make, I am always proud of the final choices. For me, showing customers different folds or techniques is the best part. I don't want anyone going home and feeling as if all their cards look the same.
Card #1:
I always try to have at least one, unique fold in each class. I was inspired by THIS CARD. Visit Jessica's blog to see how to score and create this fun fold card.
Stamp set: Party Hearty
Paper: Tempting Turquoise, Certainly Celery, Real Red
Ink: Same as above
Accessories: 5/8" Real Red Grosgrain Ribbon, Various Punches
 Card #2:
Card #3:
Card #4:
Card #5:
Card #1:
I always try to have at least one, unique fold in each class. I was inspired by THIS CARD. Visit Jessica's blog to see how to score and create this fun fold card.
Stamp set: Party Hearty
Paper: Tempting Turquoise, Certainly Celery, Real Red
Ink: Same as above
Accessories: 5/8" Real Red Grosgrain Ribbon, Various Punches

 Card #2:
It's difficult for me to create a "manly" card unless I have a true "manly" stamp set. I do not own any of those, so I have to figure out an alternative. When I saw a card on my friend's blog, I knew it would be the card for this class! Of course, I never, ever have the exact stamp sets that others use, so I have to put my own unique spin on the card I make up. This is my card...
Stamp Sets: Inspired by Nature, Curvy Verses
Paper: Always Artichoke, More Mustard, Very Vanilla, Chocolate Chip
Ink: Always Artichoke, Chocolate Chip
Accessories: 5/8" Chocolate Chip grosgrain ribbon, Slot Punch

Card #3:
This is a card that I've recycled a few times because (1) it is easy and (2) I probably had ALOT of extra cardstock cut.
Stamp Sets: True Friend, Celebrate Everything
Paper: Pumpkin Pie, Tempting Turquoise, Confetti White, Vellum
Ink: Pumpkin Pie, Rose Red, Tempting Turquoise, Always Artichoke
Accessories: Silver Brads

Card #4:
Alot of times, I fall into the trap of cutting & scoring cardstock and keeping that square, boxey look. Even though this card can be categorized like that, I think by using the scallop punch a different look was created. The In Colors are beautiful, girly colors so I used them to make up a great card to be given to a girlfriend, mother, or sister.
Stamp set: Fifth Avenue Floral
Paper: Melon Mambo, Crushed Curry, Rich Razzleberry, WW
Ink: Same as above
Accessories: Crushed Curry Polka Dot ribbon, Scallop Punch

Card #5:
Why re-invent the wheel for your classes? Back in November I needed some birthday cards, so using the Animal Stories stamp set, I made THESE CARDS. For this stamp-a-stack, I CASE'd my own examples for the last of the five cards made.
April 19, 2010
Making Tiles
Although the thought of making tiles can be intimidating, this 3-D project is actually very easy. By a customer, I was asked to make twelve tiles so she could give them as Mother's Day gifts. She wanted me to keep it simple by making all of the tiles identical, even the color of the flower. Oh how I love simplicity!
There are many ways to make tiles, but this is the way I prefer. This is the first time I did not bake them. I do believe it isn't necessary to do so. To make your own tiles, follow these easy instructions:
SUPPLIES:
.JPG) STEP 1: Wipe tiles free of dust and let dry
STEP 1: Wipe tiles free of dust and let dry
STEP 2: *Stamp image onto tile using Staz-On ink*
Why Staz-on? This ink is specifically used for non-porous surfaces and it doesn't run dry.
STEP 3: Using blender pen, choose pastel colors and color the image
STEP 4: In a well ventilated area, follow the Krylon instructions and spray tiles.
Why Krylon? It goes on clear, is moisture resistant and will seal the tile
*NOTE: I was pleasantly surprised when I messed up and grabbed a baby wipe to wipe of my mistake. The image came off with no trouble at all!
.JPG) The tiles I bought were NOT the ones that were completely unfinished. These had a slight smoothness/glossy look to them. They were NOT the glossy ones. You can tell the difference. You may be able to use the glossy ones too, if you prefer that look. These tiles were about 38 cents each.
The tiles I bought were NOT the ones that were completely unfinished. These had a slight smoothness/glossy look to them. They were NOT the glossy ones. You can tell the difference. You may be able to use the glossy ones too, if you prefer that look. These tiles were about 38 cents each..JPG)

There are many ways to make tiles, but this is the way I prefer. This is the first time I did not bake them. I do believe it isn't necessary to do so. To make your own tiles, follow these easy instructions:
SUPPLIES:
- 4"x4" non-glossy tumbled tiles (found at your local home improvement store)
- Staz-On ink pad
- Blender pen
- Stampin' pastels
- Stamp set (s) of your choice
- Baby wipes
- Felt pads for back
- Krylon acrylic spray or aerosol hairpray
STEP 1: Wipe tiles free of dust and let drySTEP 2: *Stamp image onto tile using Staz-On ink*
Why Staz-on? This ink is specifically used for non-porous surfaces and it doesn't run dry.
STEP 3: Using blender pen, choose pastel colors and color the image
STEP 4: In a well ventilated area, follow the Krylon instructions and spray tiles.
Why Krylon? It goes on clear, is moisture resistant and will seal the tile
*NOTE: I was pleasantly surprised when I messed up and grabbed a baby wipe to wipe of my mistake. The image came off with no trouble at all!
The tiles I bought were NOT the ones that were completely unfinished. These had a slight smoothness/glossy look to them. They were NOT the glossy ones. You can tell the difference. You may be able to use the glossy ones too, if you prefer that look. These tiles were about 38 cents each.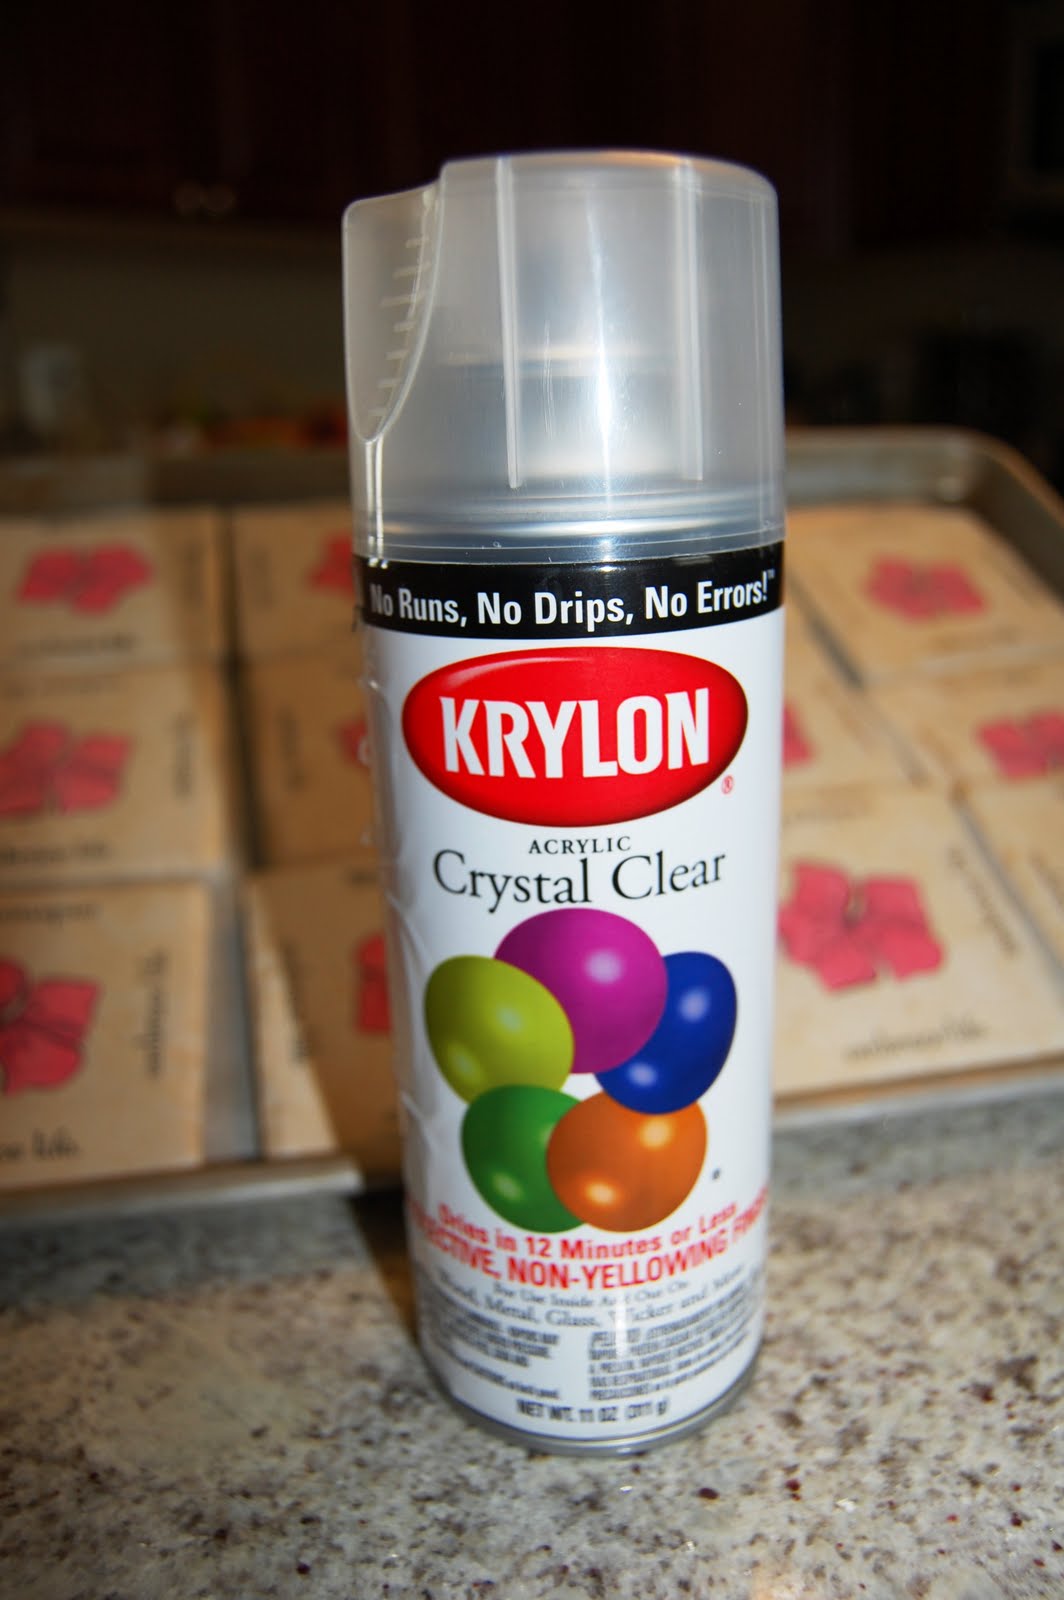
March 15, 2010
Spring Craft Fair 2010
WOW! Once again, it's been a while since I blogged! I am so sorry about that! Over the last few weeks, I've been working really hard for a craft fair that I participated in last Saturday. Unfortunately, there was a disappointing turn-out and I hardly had any sales. On the up side, this same craft fair has a really good turn-out in the fall, so I already signed up for that one. Instead of posting each picture individually, I made a smilebox for you to view. Please let me know if you have any questions regarding the projects I made. Thanks for viewing!
 |
| Make your own free photo slideshow |
February 25, 2010
.JPG)
.JPG)
February 2, 2010
Help for Haiti
As we all know, a major disaster struck Haiti a few weeks ago. From now until February 28, 2010 Stampin' Up! will donate $2 to the American Red Cross’ Haiti Relief and Development Fund from every I {Heart} Hearts stamp set sold. If you love this set and want to help those in need, please contact me soon!

January 26, 2010
Mommy & Me Sweetheart Class
It's been awhile since I planned and organized a Mommy & Me class. Valentine's Day is the perfect time to do so! The projects below are the three that will be made for this particular class. Each child will make five of each to give to their special friends.
.JPG) Pretzel bags with chocolate
Pretzel bags with chocolate
.JPG) Lollipop cover
Lollipop cover.JPG) Heart shaped sweetheart cup filled with candy
Heart shaped sweetheart cup filled with candy (postcard style)
Subscribe to:
Posts (Atom)